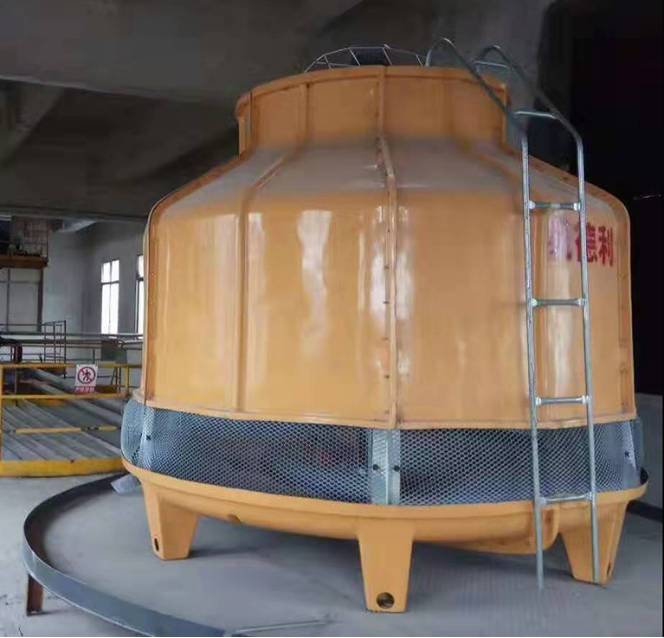
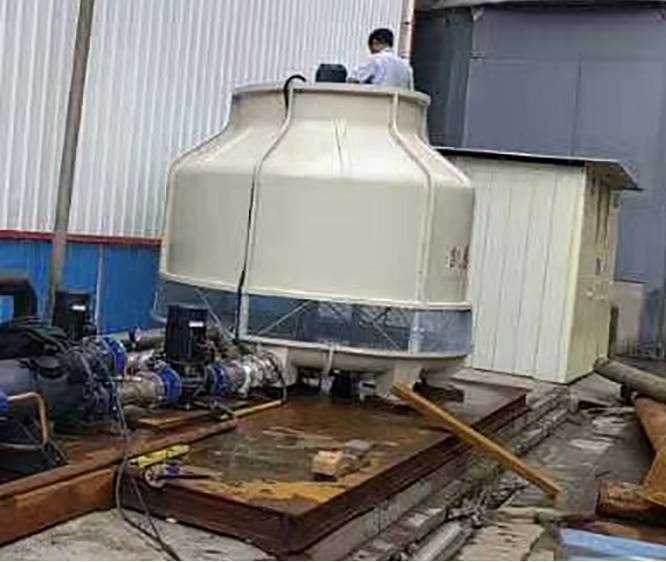
Installing a cooling tower alongside a water-cooled chiller is essential for achieving optimal cooling performance, particularly in industrial and commercial settings. This comprehensive guide will walk you through the step-by-step process of properly installing a cooling tower while highlighting key considerations and addressing specific needs such as low-temperature chilling requirements.
Choosing the ideal location for your cooling tower is paramount to its effectiveness. Not only should the site be level and well-ventilated, but it should also be strategically positioned to accommodate the unique demands of low-temperature chiller systems. For instance, industrial low-temperature chiller manufacturers often recommend locating the cooling tower in an area with ample airflow to dissipate excess heat efficiently.
Before proceeding with installation, it's crucial to ensure that the foundation is robust enough to support the weight of the cooling tower, especially for larger systems like a 100-ton or 120-ton chiller. Additionally, when calculating the 100-ton chiller cost or 120-ton chiller expenses, don't overlook the foundation preparation costs, as they contribute significantly to the overall project budget.

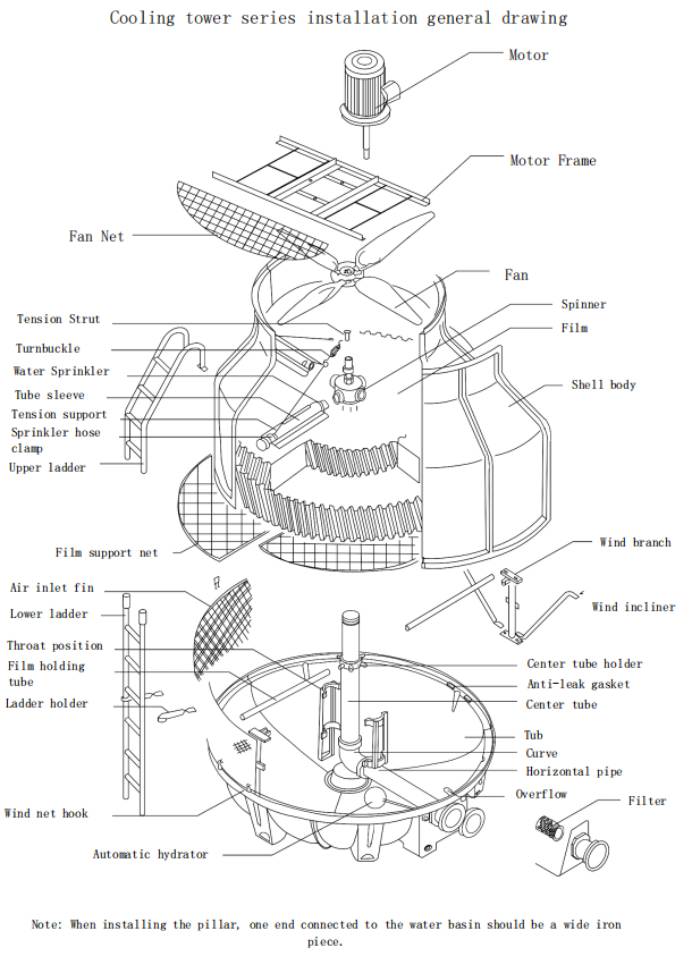
Follow the manufacturer's guidelines meticulously when assembling the cooling tower components. Whether it's an air-cooled heat pump chiller or a water-cooled screw compressor chiller, proper assembly ensures optimal performance and longevity. Take special care to install the fill media and drift eliminators correctly, as they play a crucial role in maximizing cooling efficiency.

When connecting the water lines from the chiller to the cooling tower, pay close attention to sizing, insulation, and support. For instance, air-cooled chillers, especially those with capacities of 50 tons or more, require robust piping systems to handle the substantial water flow rates effectively. Proper insulation is also essential, particularly for low-temperature chilling applications, to prevent heat gain and maintain consistent cooling performance.

Step 5: Electrical Connections
Ensure compliance with electrical codes and safety standards when making electrical connections for the cooling tower fan motor and other components. Whether it's a hydrogen chiller or a China screw chiller, safety should always be the top priority. Hire qualified professionals if necessary to handle electrical wiring and prevent potential hazards.
Step 6: Testing and Commissioning
Thoroughly test the cooling tower system upon completion to verify its functionality and performance. This step is particularly critical for low-temperature chiller systems, as they often operate under more stringent conditions. Monitor water flow rates, inspect for leaks, and validate electrical connections to ensure everything is in working order.
Step 7: Maintenance and Monitoring
Regular maintenance is key to prolonging the lifespan of your cooling tower and chiller system. Implement a proactive maintenance schedule that includes tasks such as cleaning the fill media, monitoring water quality, and inspecting for potential issues. This proactive approach helps prevent costly breakdowns and ensures uninterrupted operation.
Incorporating a cooling tower into your water-cooled chiller system is crucial for maintaining optimal cooling efficiency, especially in applications requiring low-temperature chilling. By following the outlined installation process and considering specific requirements such as low-temperature chilling needs, you can ensure a seamless integration that maximizes performance and longevity.
For tailored solutions and expert guidance, consult with reputable low-temperature chiller manufacturers or HVAC professionals. Their expertise and industry knowledge can help you select the right equipment, optimize installation processes, and achieve your cooling objectives effectively.
By continuing to use the site you agree to our privacy policy Terms and Conditions.